Create New Profile
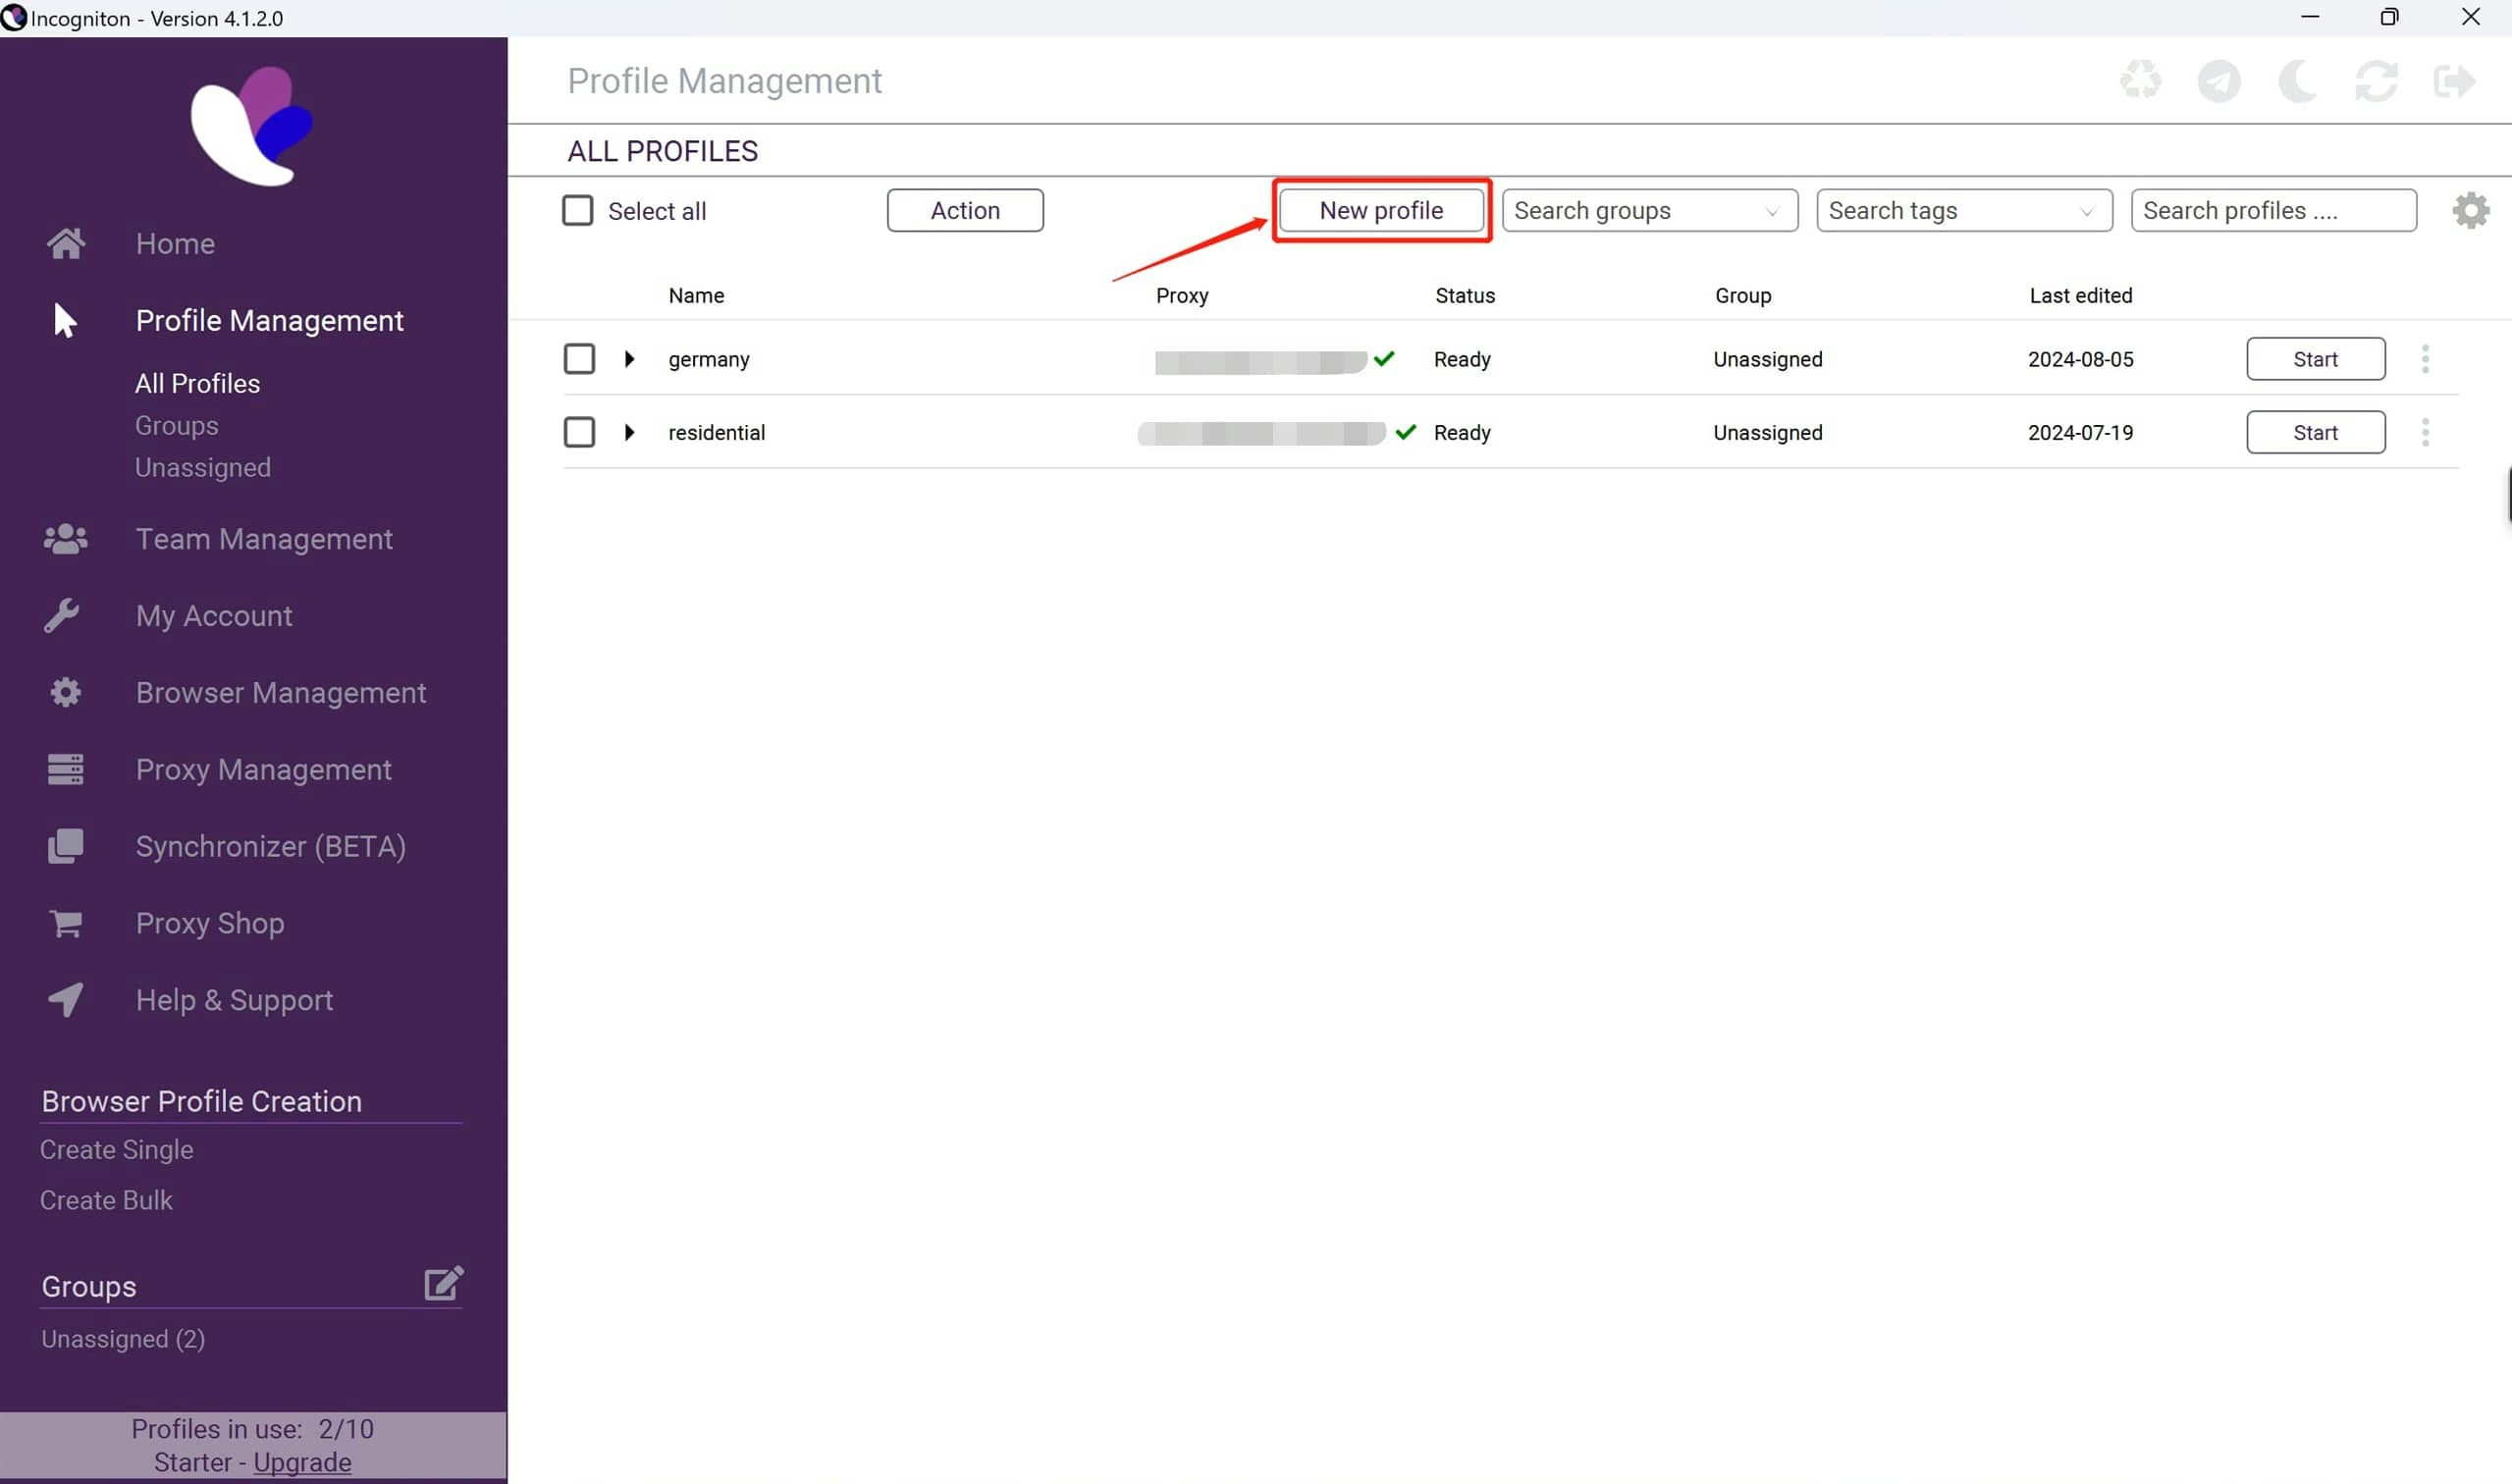
Launch Incogniton and find All Profiles under Profile Management, then click New Profile.
New Profile
New Profile
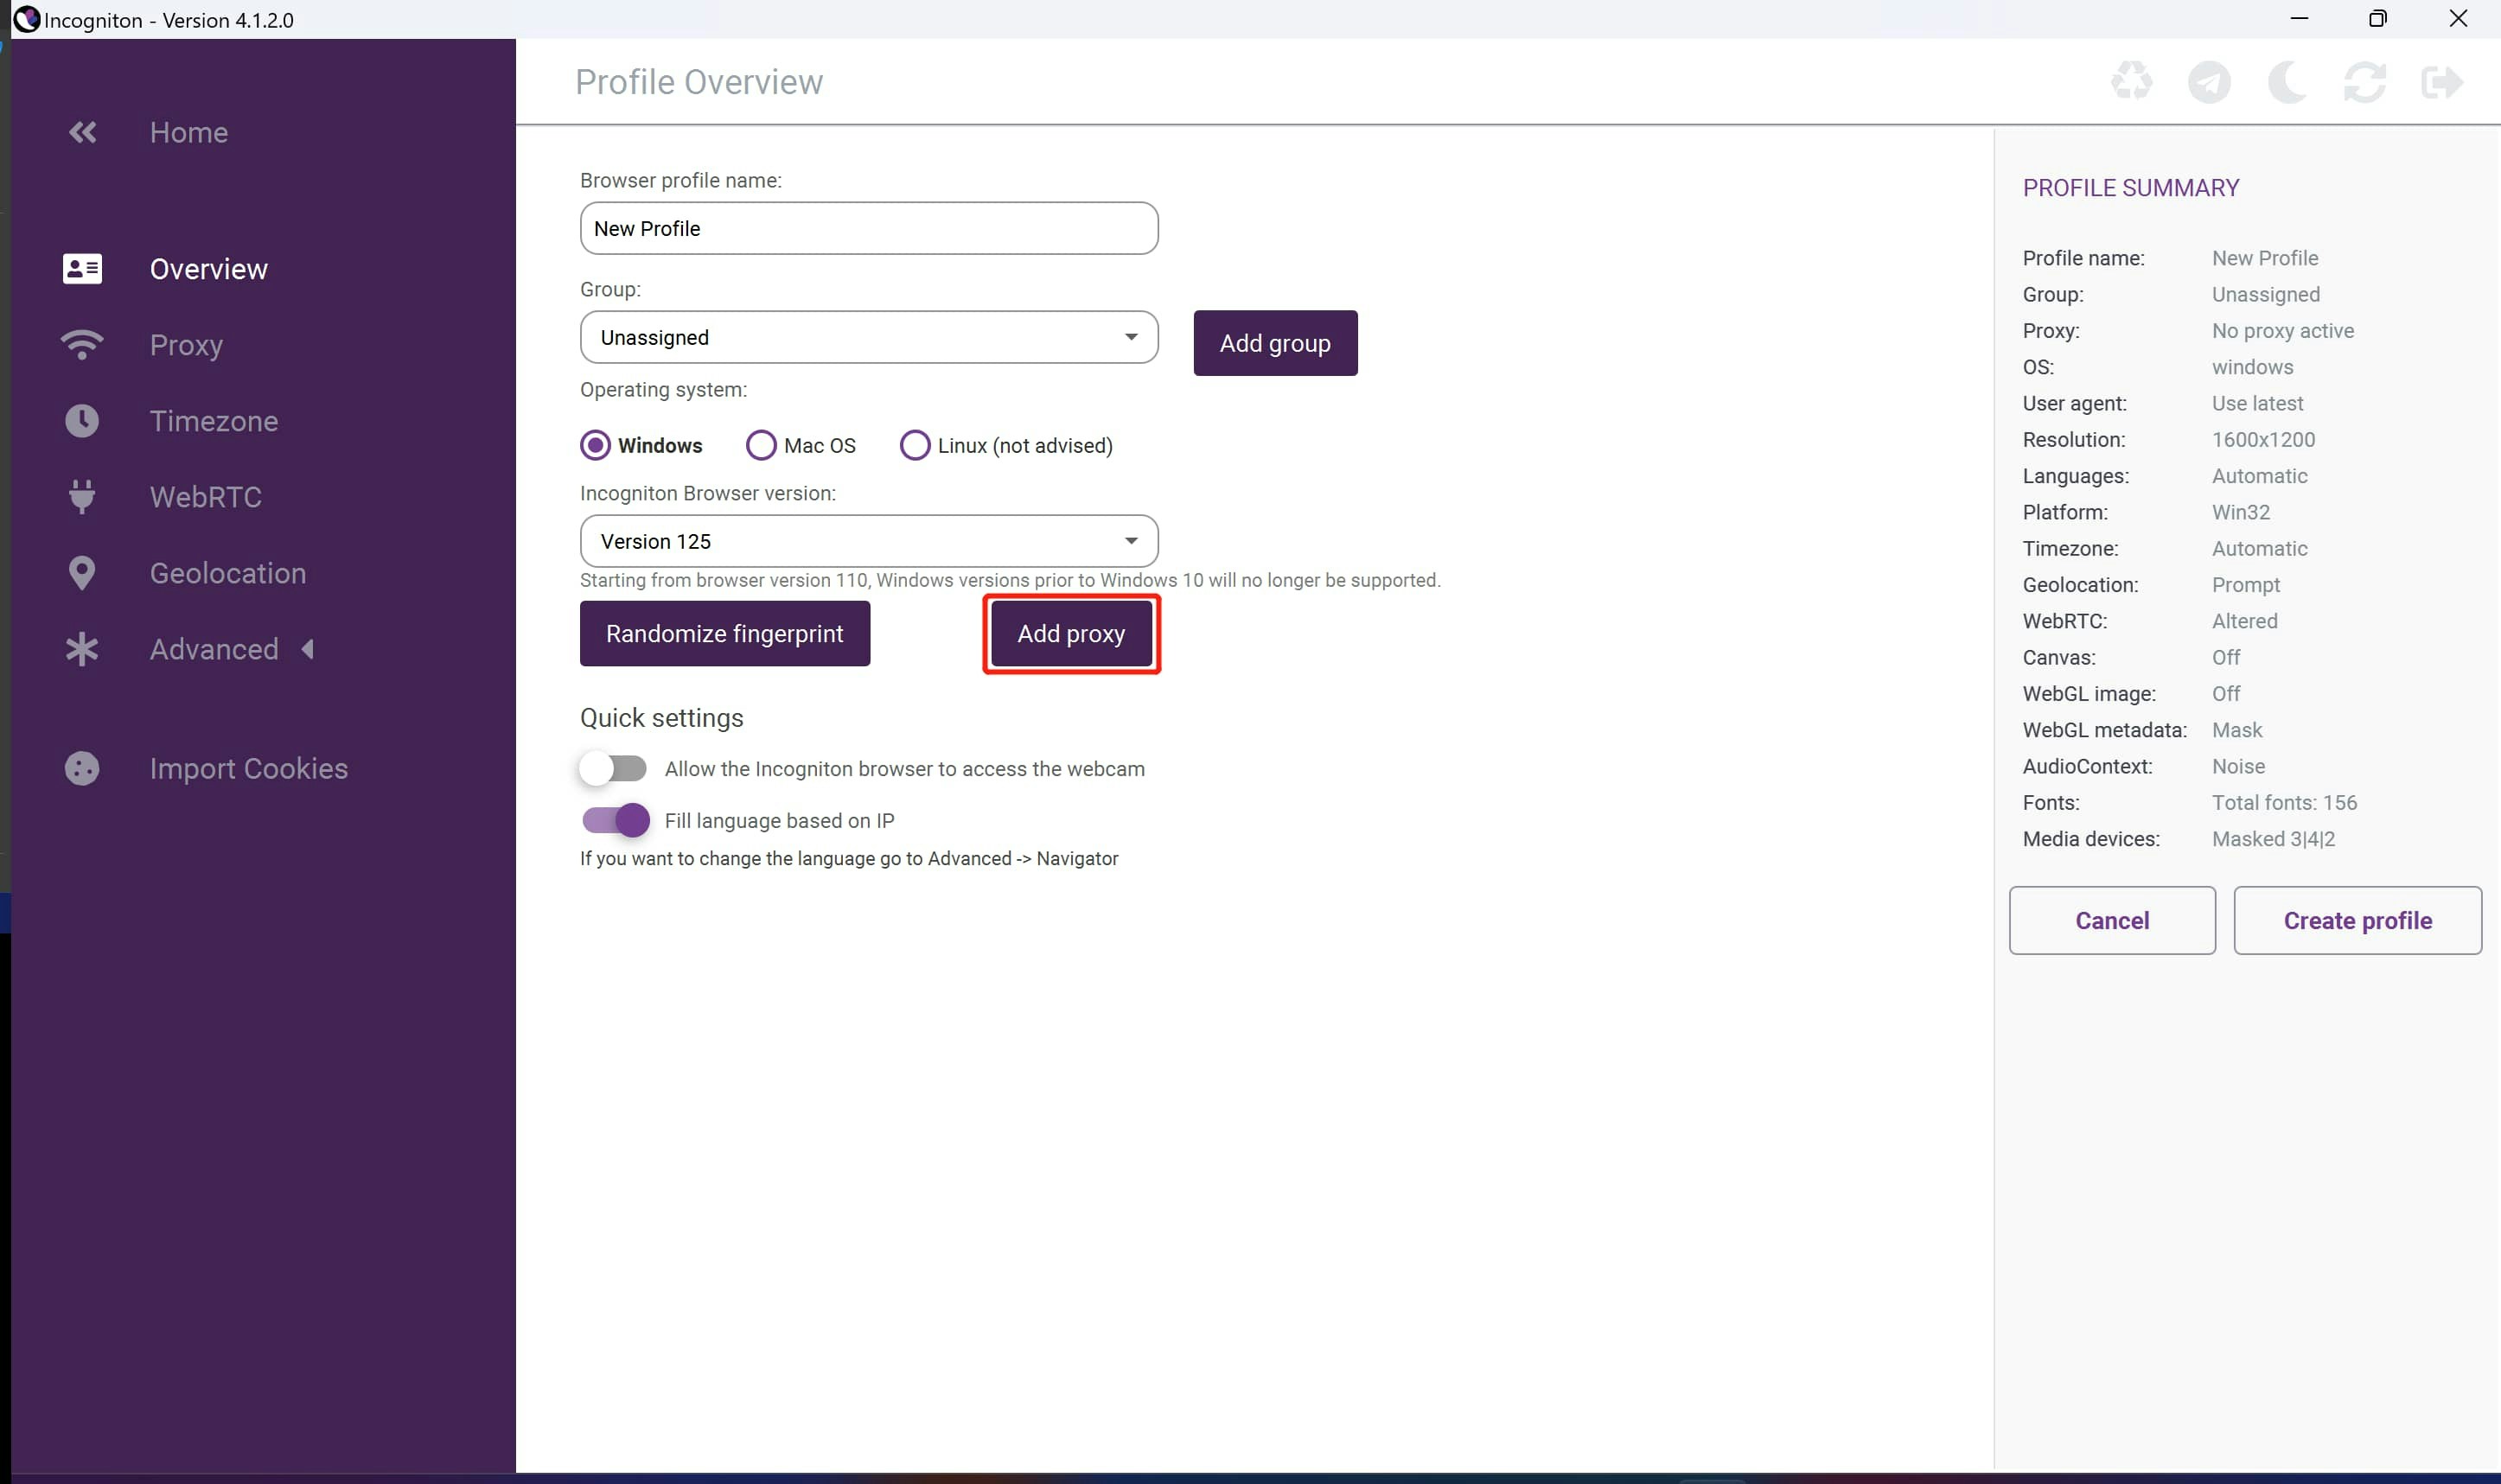
Profile Settings
Profile Settings
Configure Proxy Settings
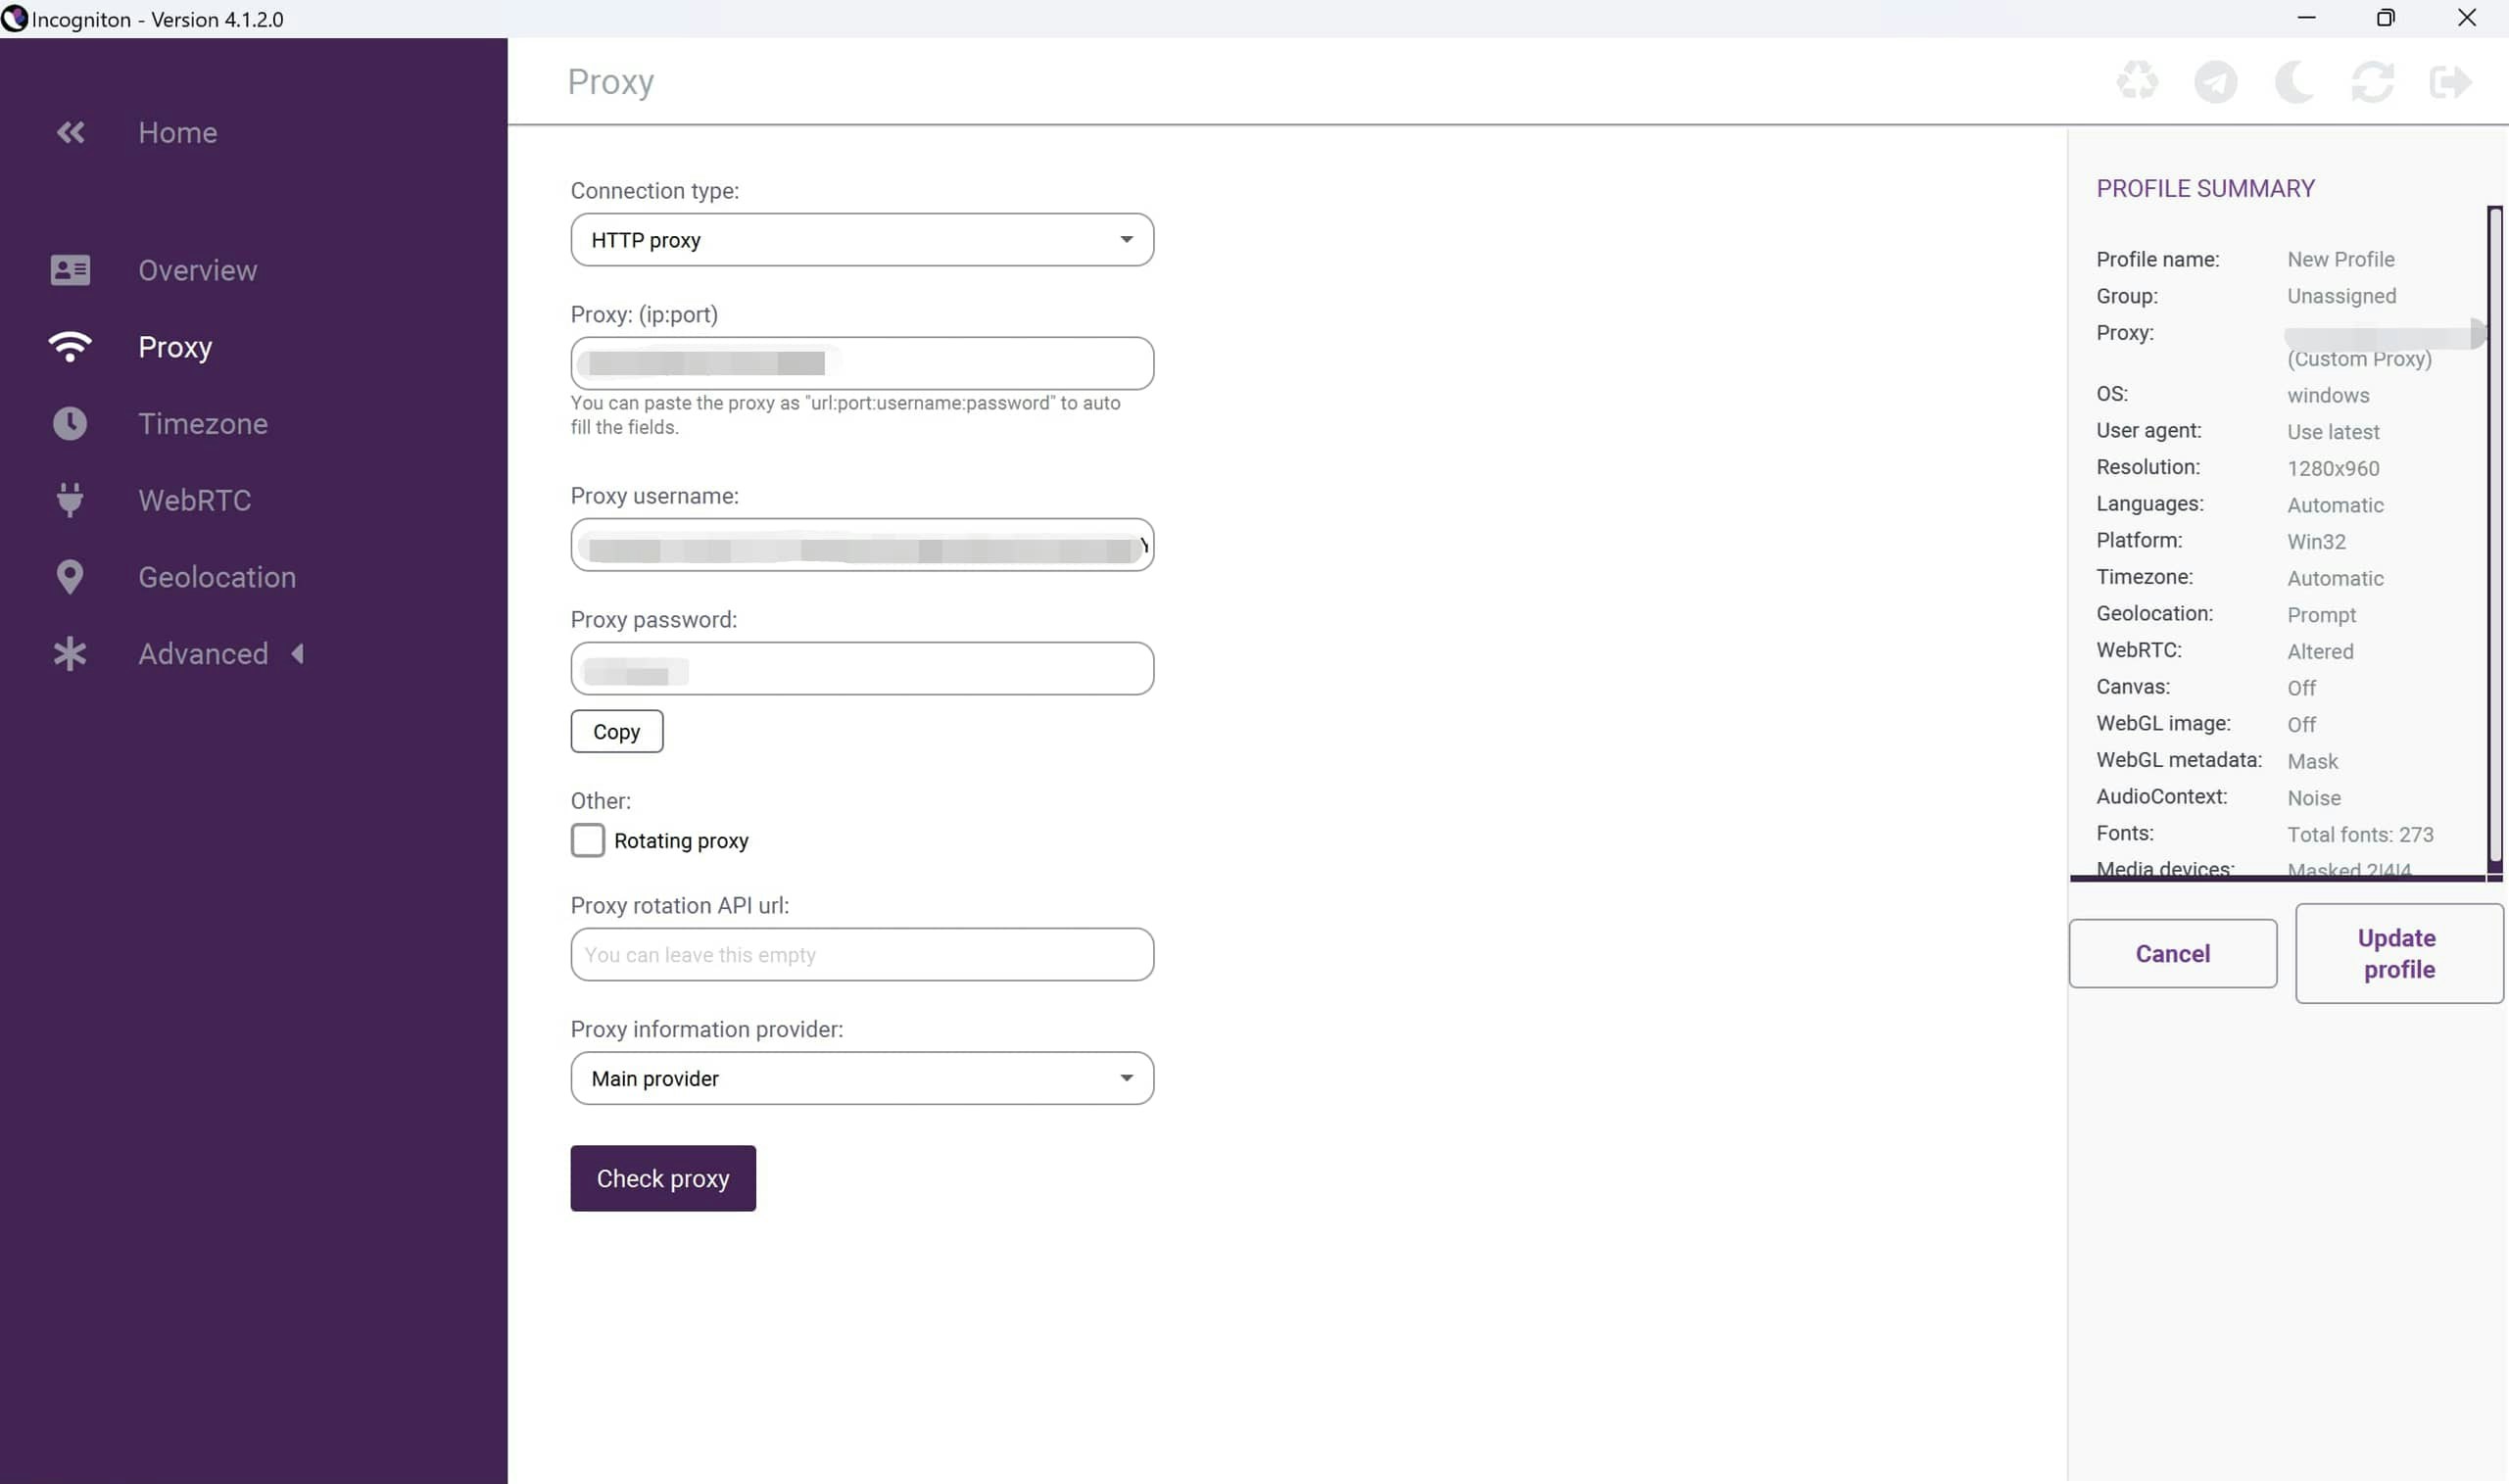
Navigate to the page of proxy settings. Choose the protocol, enter your proxy IP address, port, username and password.
Proxy Settings
Proxy Settings
When using AntsData’s proxies, you can fill in the Proxy with
static proxies and rotating proxies. Following instruction shows how to set up AntsData’s rotating proxies.
Test the Proxy
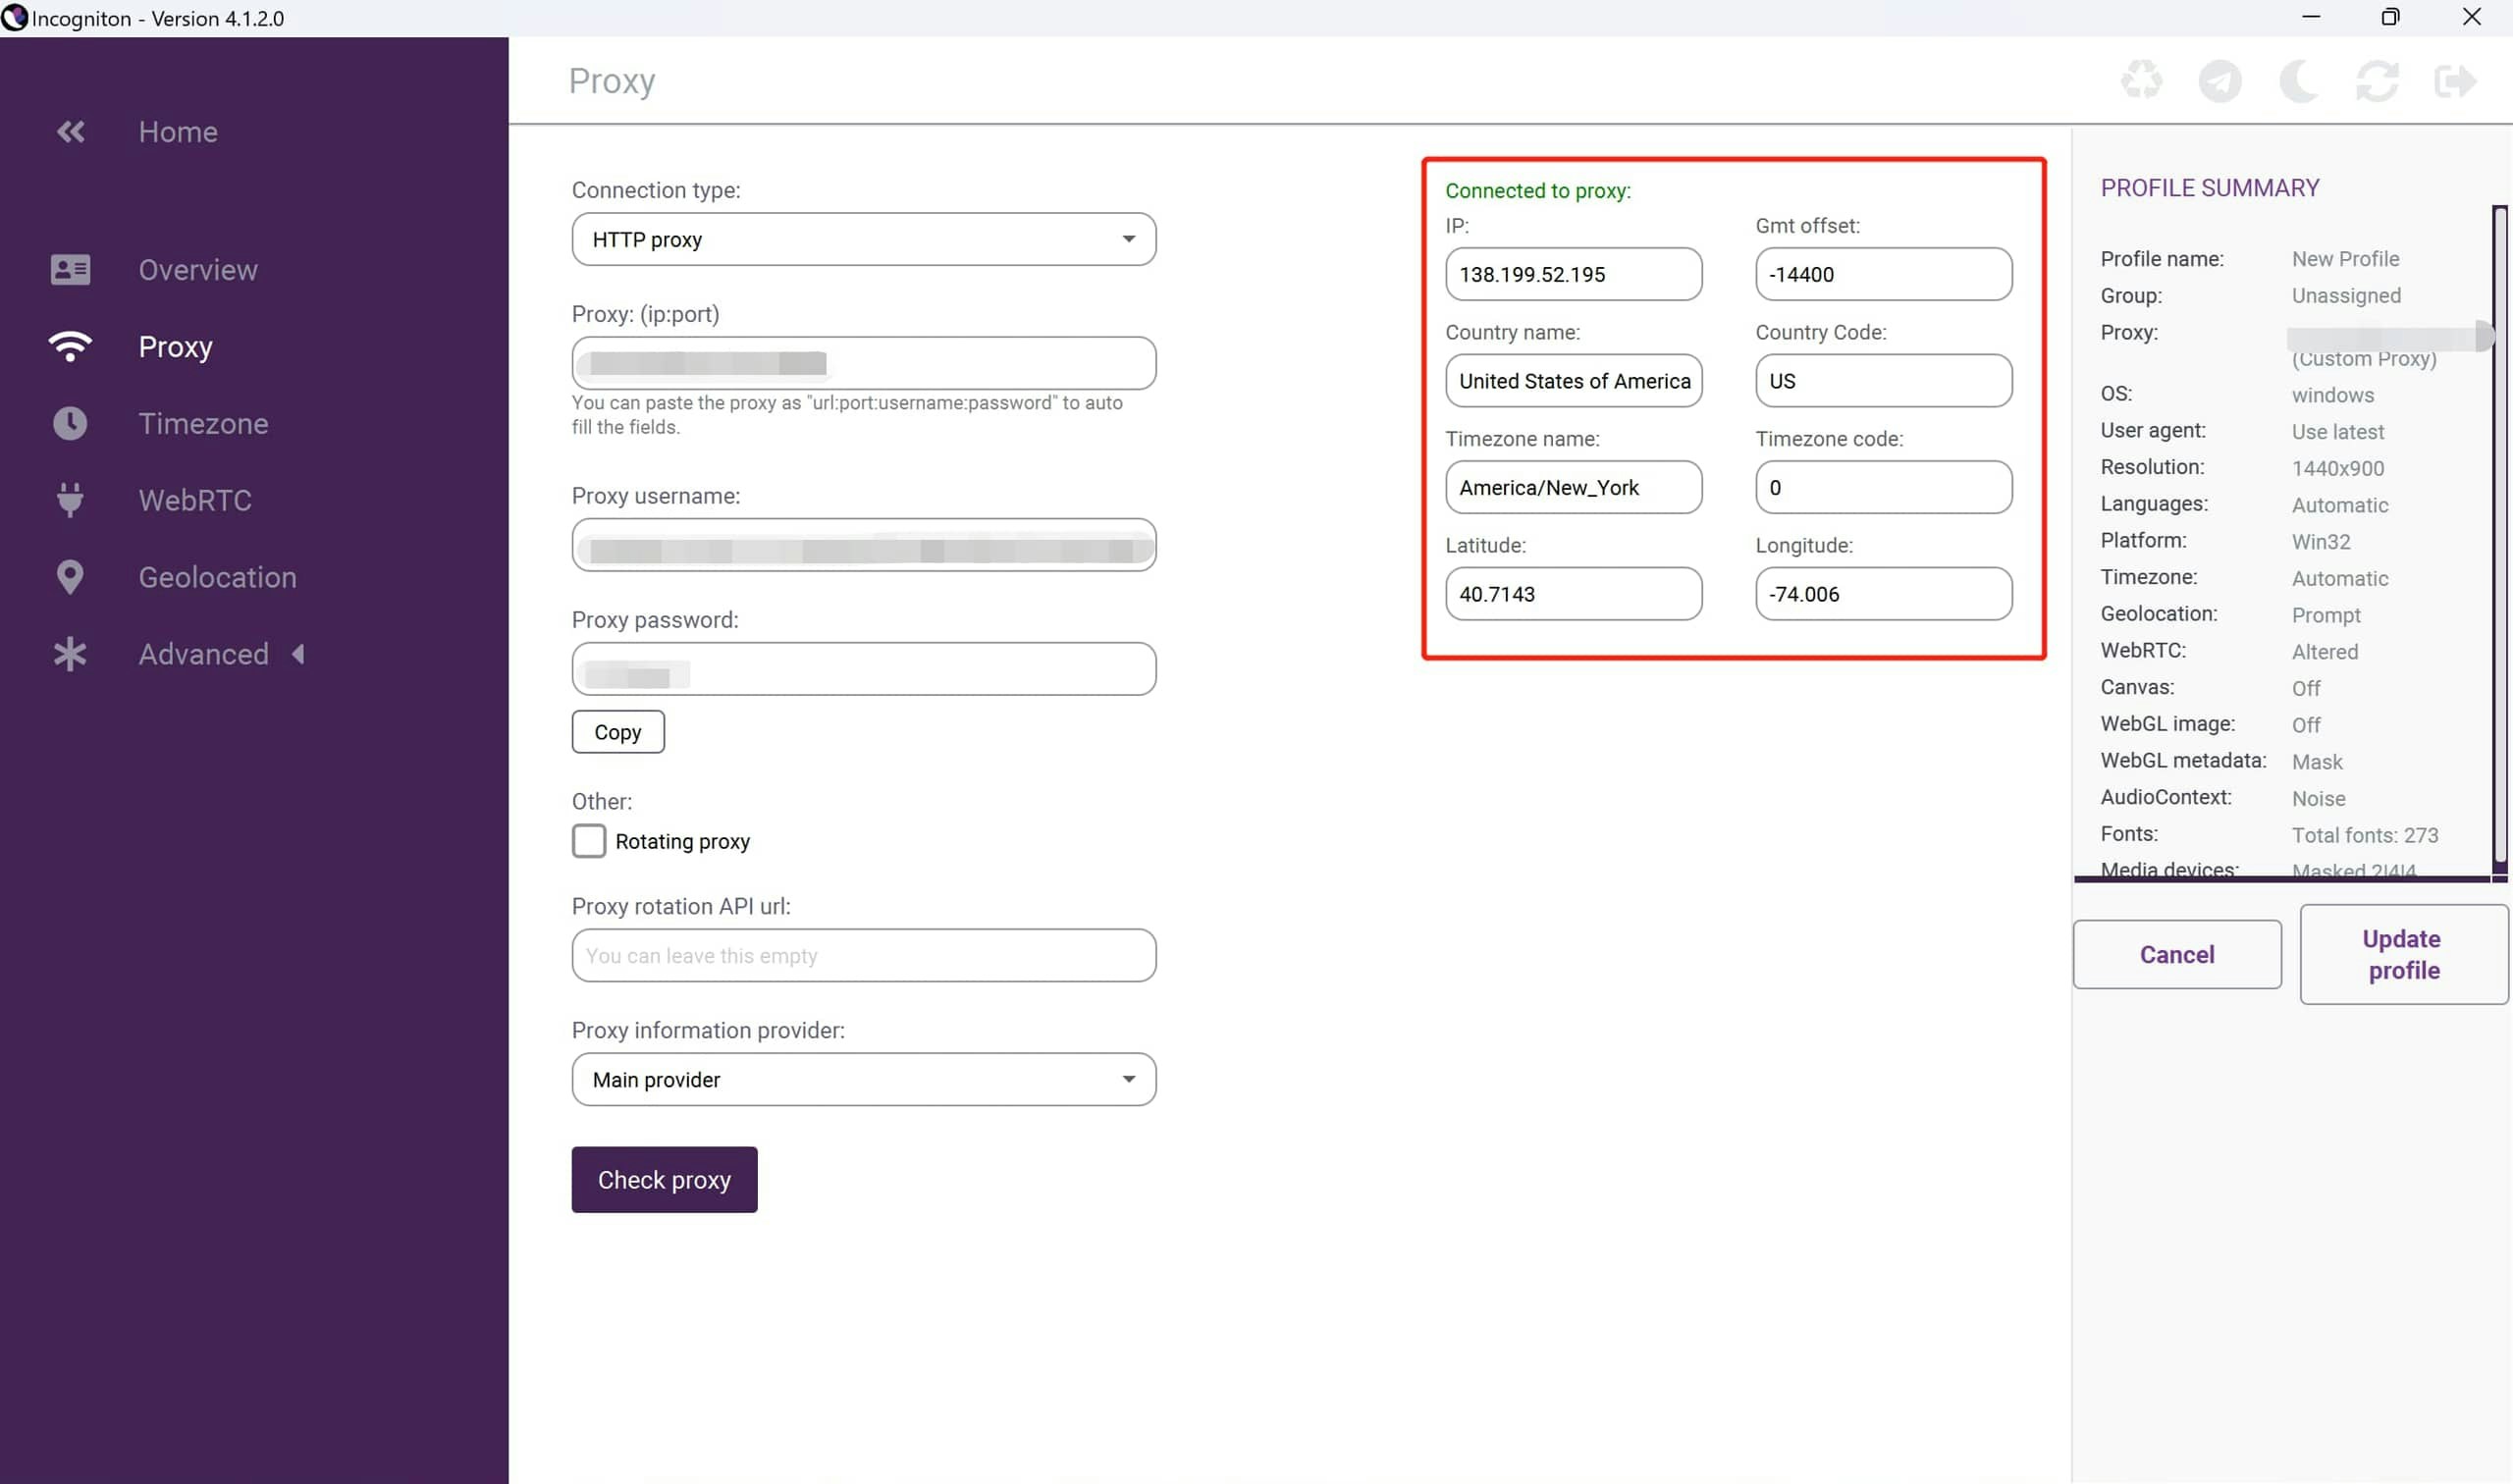
Click Check proxy to check your proxy is available or not. If your proxy is available, it will display Connected to proxy along with the following proxy information:
Check Proxy
Check Proxy
You may find that the proxy IP does not correspond to the country or region you specified in your proxy username when using AntsData’s rotating proxies. There are two probable reasons:
1.The proxy manager uses a database that has a different query result for IP’s location information. Please refer to Location Issues;
2.Some proxy managers will first try to send requests without a username and password, even though you have filled them in. If your current environment is whitelisted, the request will be sent successfully without a username and password, so no region is specified.